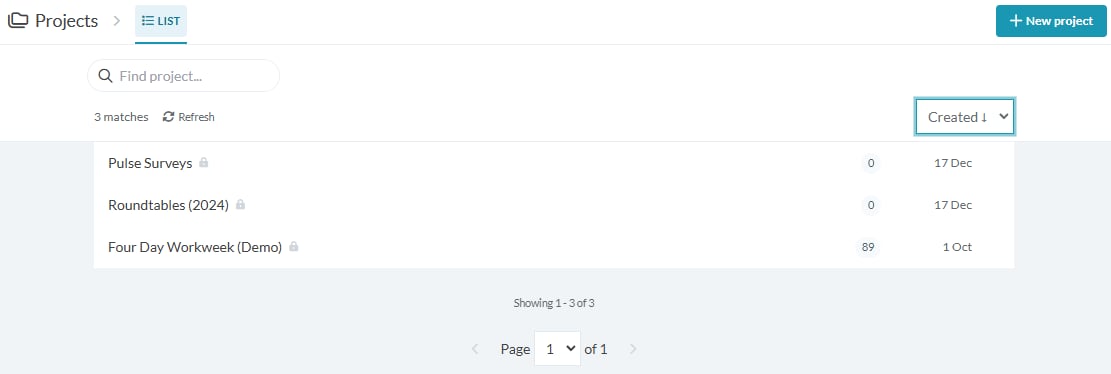
Adding a new project
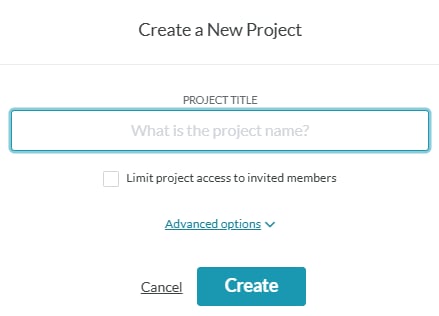
If you would like to create a new project, select the New project button in the right hand corner. You will see this button if you are a workspace admin, or if members can create projects in your workspace. A pop-up will appear for you to make a new project. Enter a name for your project, and choose whether to limit the project access to invited members only.Limit project access to invited members
Selecting this will ensure only invited members can see this project. Workspace admins still have admin access to all projects.Advanced options
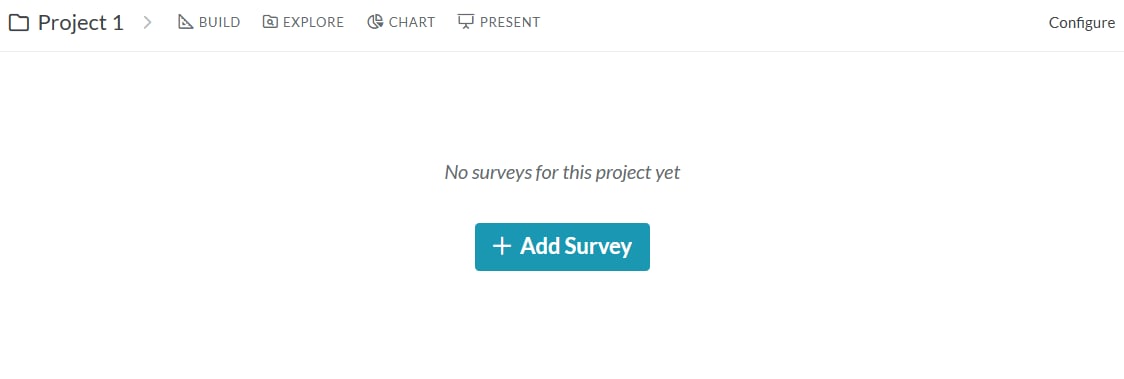
This will enable you to edit the web link URL for your project. Tip: You can edit the project title and access permissions at a later stage Once you are ready, click “Create” and your project will be created and opened automatically:Next steps