Settings
To access page layout settings for a report, click on Settings from the Present Toolbar.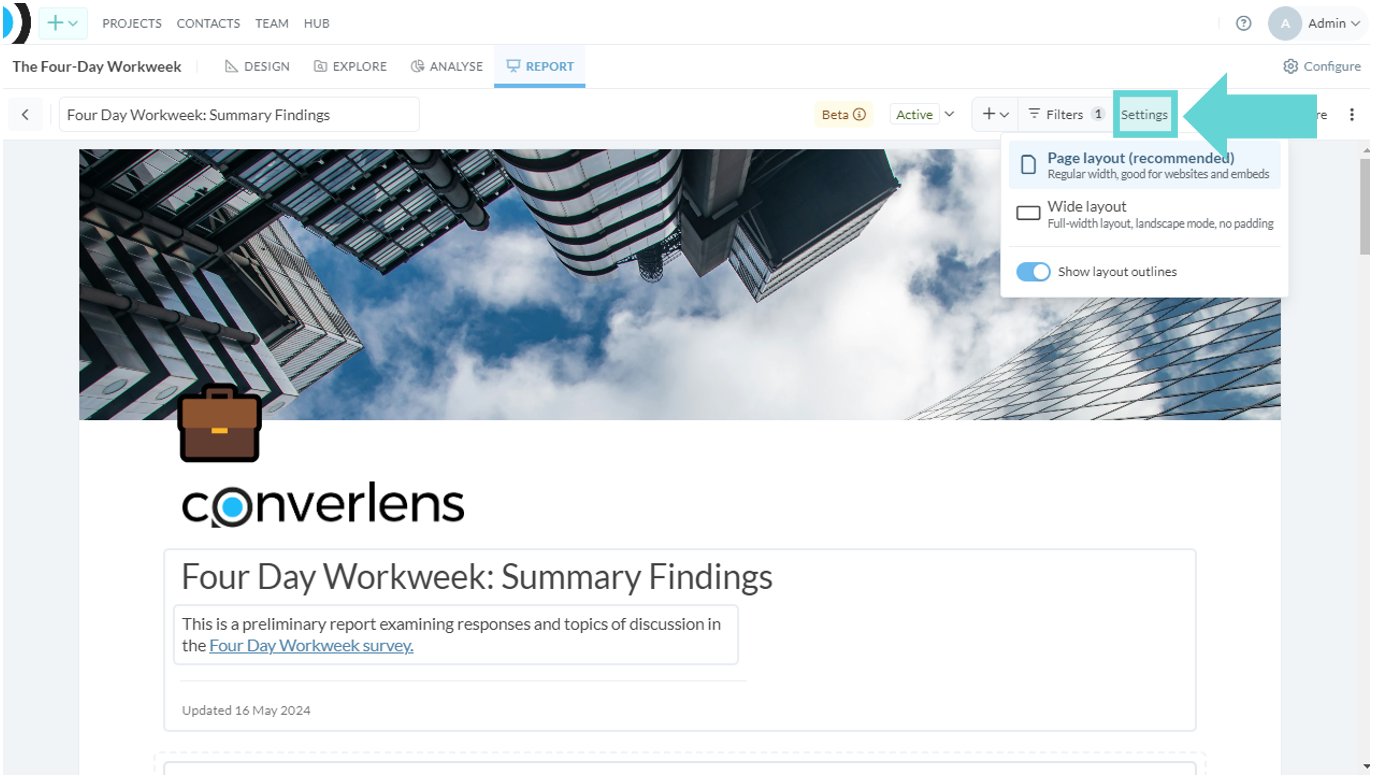
Page Layout
Click on Page-layout to set the report to an A4 dimension portrait layout. This is the recommended setting for most report layouts. The current layout selection will highlight blue.Wide layout
Click on Wide layout to set the report to an A4 dimension landscape layout. The current layout selection will highlight blue.Show layout outlines
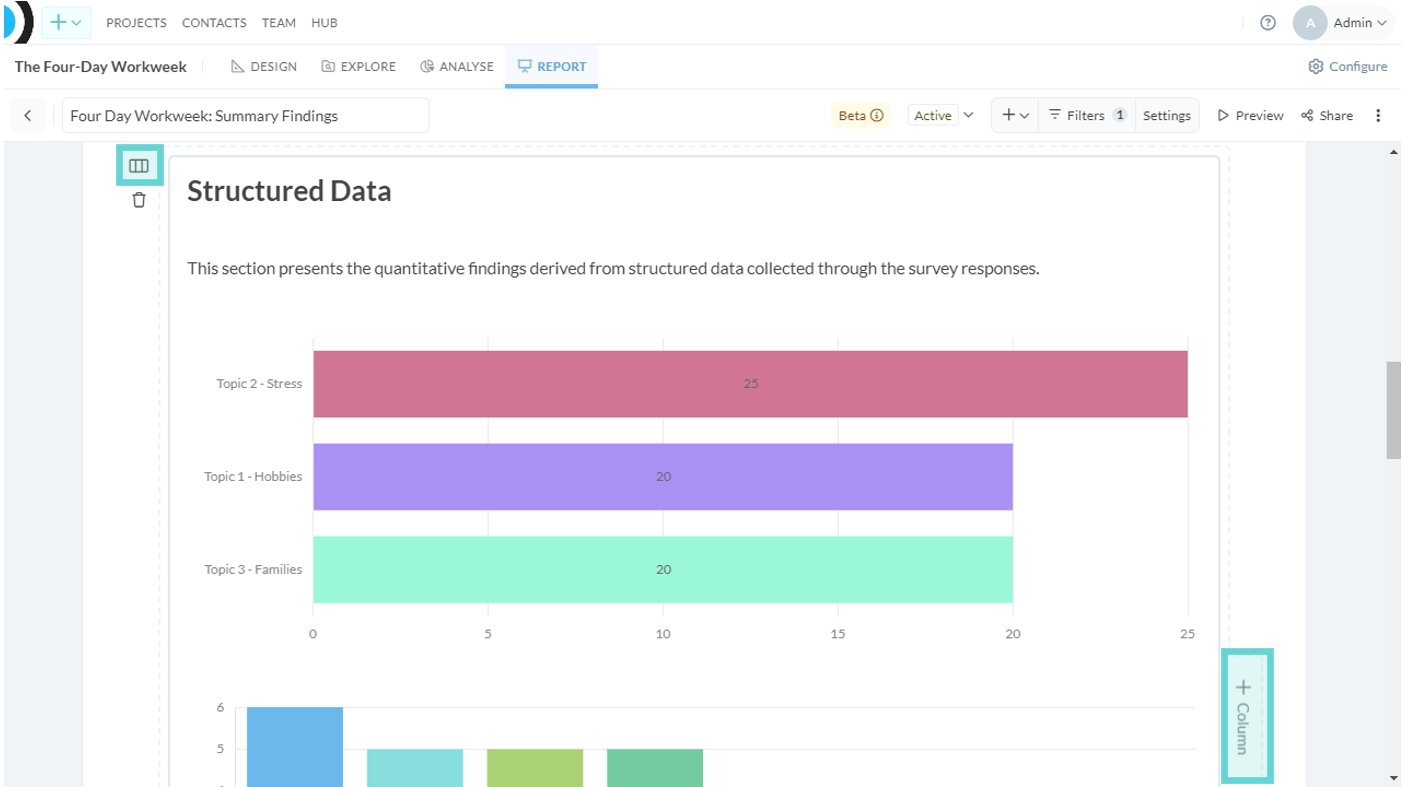
Toggle on/off to show layout outlines in the report. This will show a grey outline box around each report tile (section), to enable easy identification of report blocks and tiles.Blocks and tiles
Blocks are the sections (rows) added to the report. These will have a dashed line outline with show layout outlines toggled on. Tiles are the individual report elements, such as charts and text blocks, that have been added to a row. These will have a solid grey outline around each tile with show layout outlines toggled on. Tiles can be edited within a block (row), and moved between rows. Rows can be split into columns.Edit Row Columns
Edit tile layout
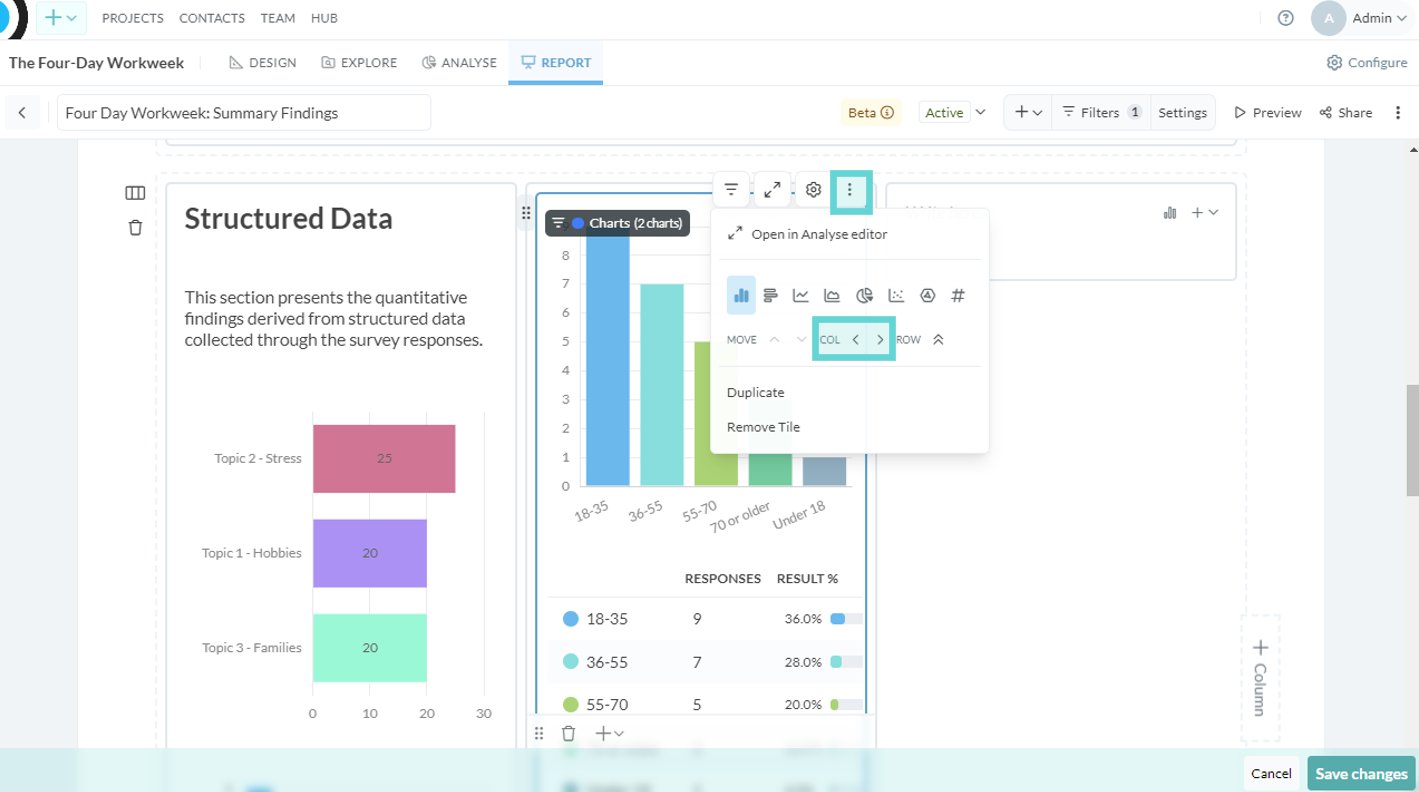
To edit tile layouts, hover over the tile you want to move and click on the 3 dot kebab menu on the right hand side. You will see the option to move, change row, or change column (where more than 1 column is in the layout) of that tile.Move
To move a tile up or down in a row, click on the up or down arrow next to “Move”.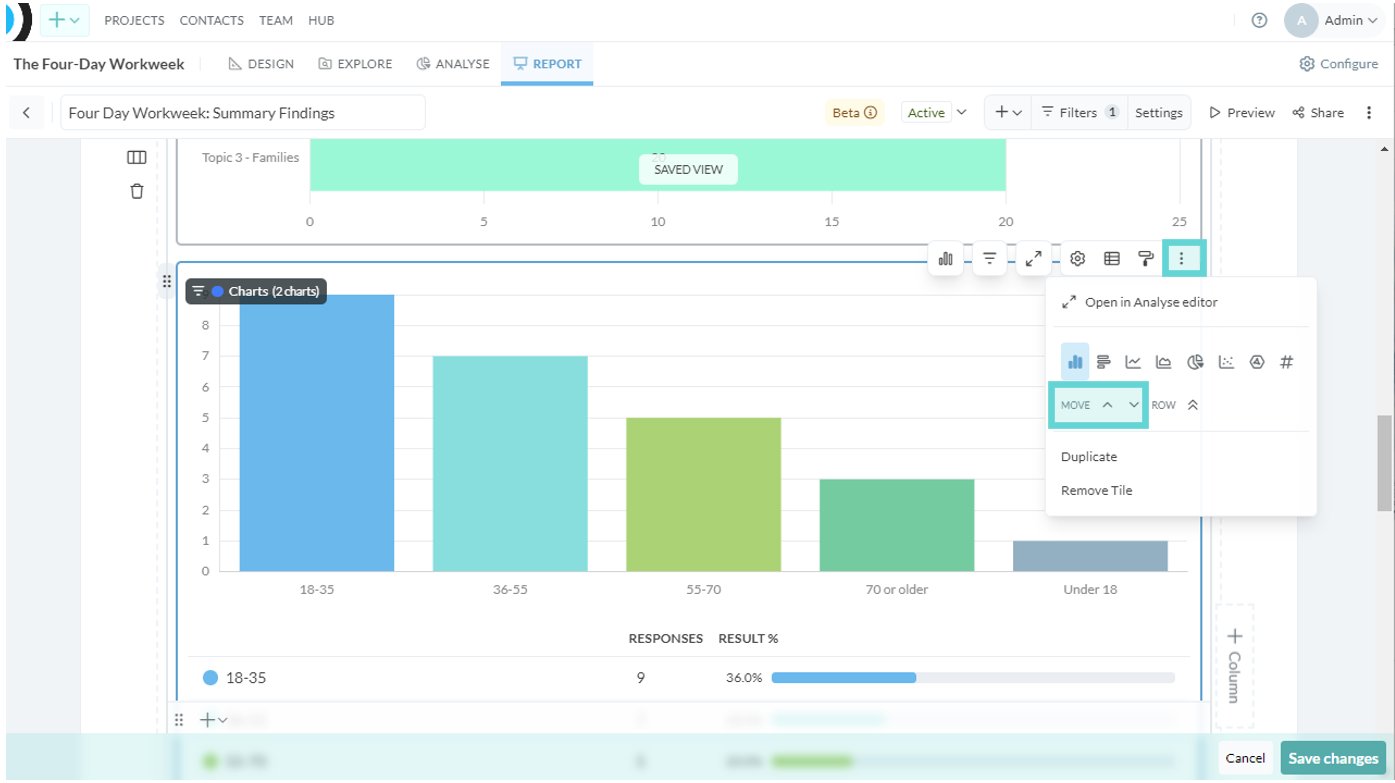
Column
Row
To move a tile between rows, hover over the tile you want to move and click on the 3 dot kebab menu on the right hand side. Next to Rows, click on the up or down arrows to move the tile between rows.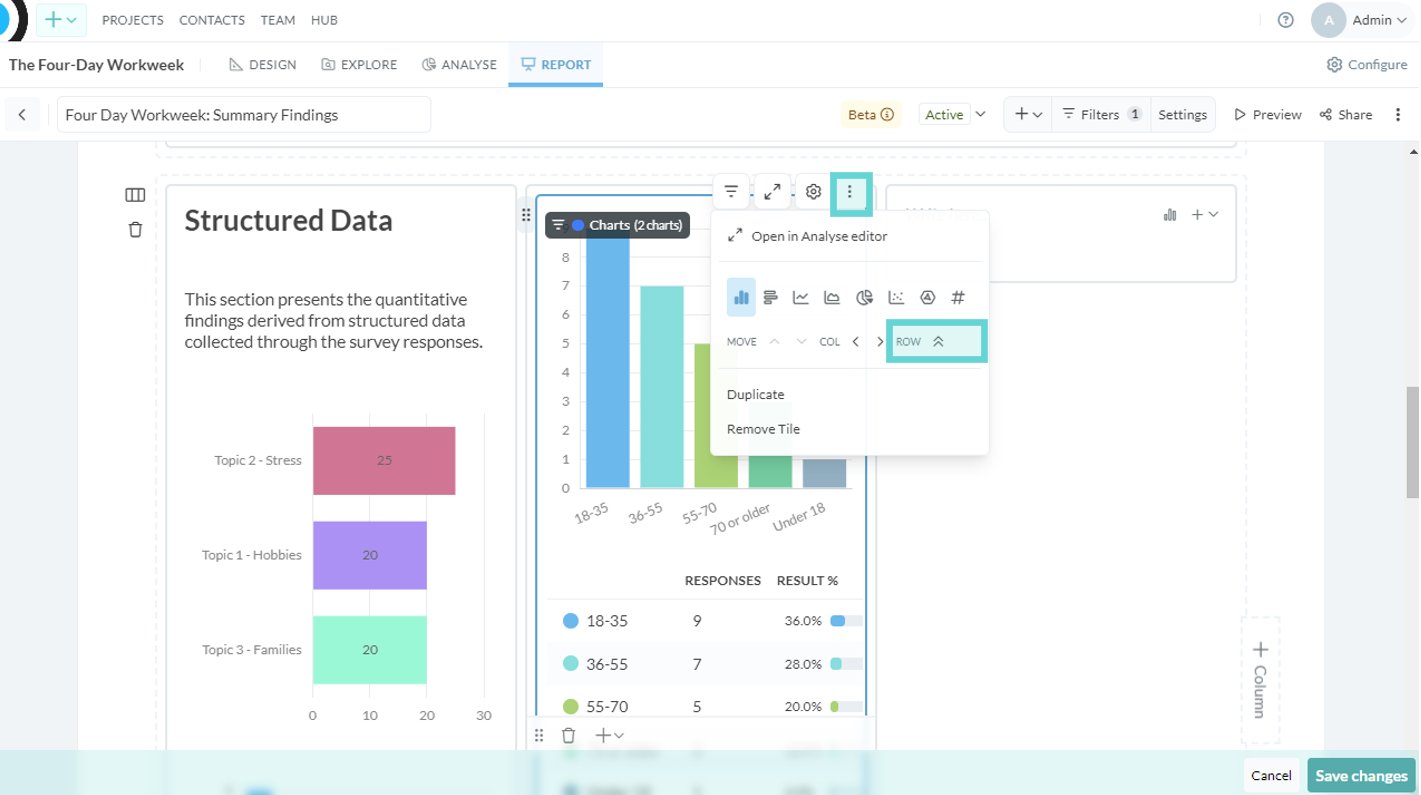
All layout options
Below is a quick demonstration of all the layout options in practice.