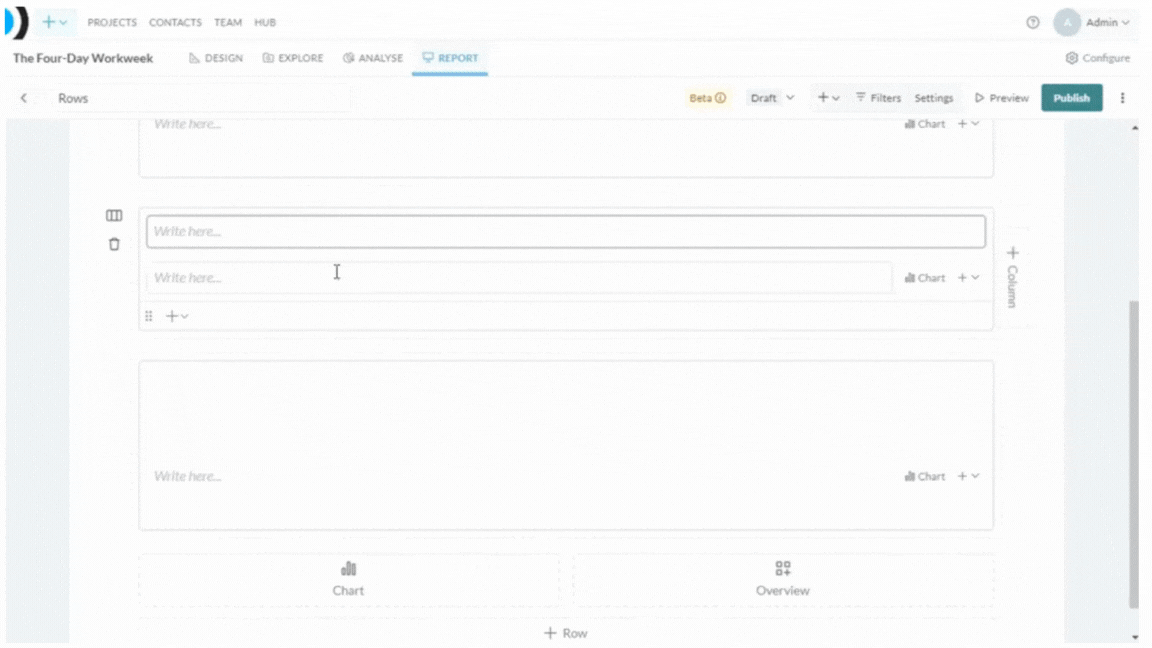
Add a row
To add a row, click the Text Block button at the bottom of the report builder or select Text Block from the toolbar add menu. Think of rows as your report sections.
- Select the + button in the Reports Toolbar and click on Text Block under Elements. This will add a text block to the last row.
- From a row tile, hover over the bottom of the tile and open the add menu. Select Text Block under Elements to add another text block. You can also access this menu from the top right hand corner of the tile.
Rich Text Editor Options
To open the Rich Text Editor (RTE) click on a text box.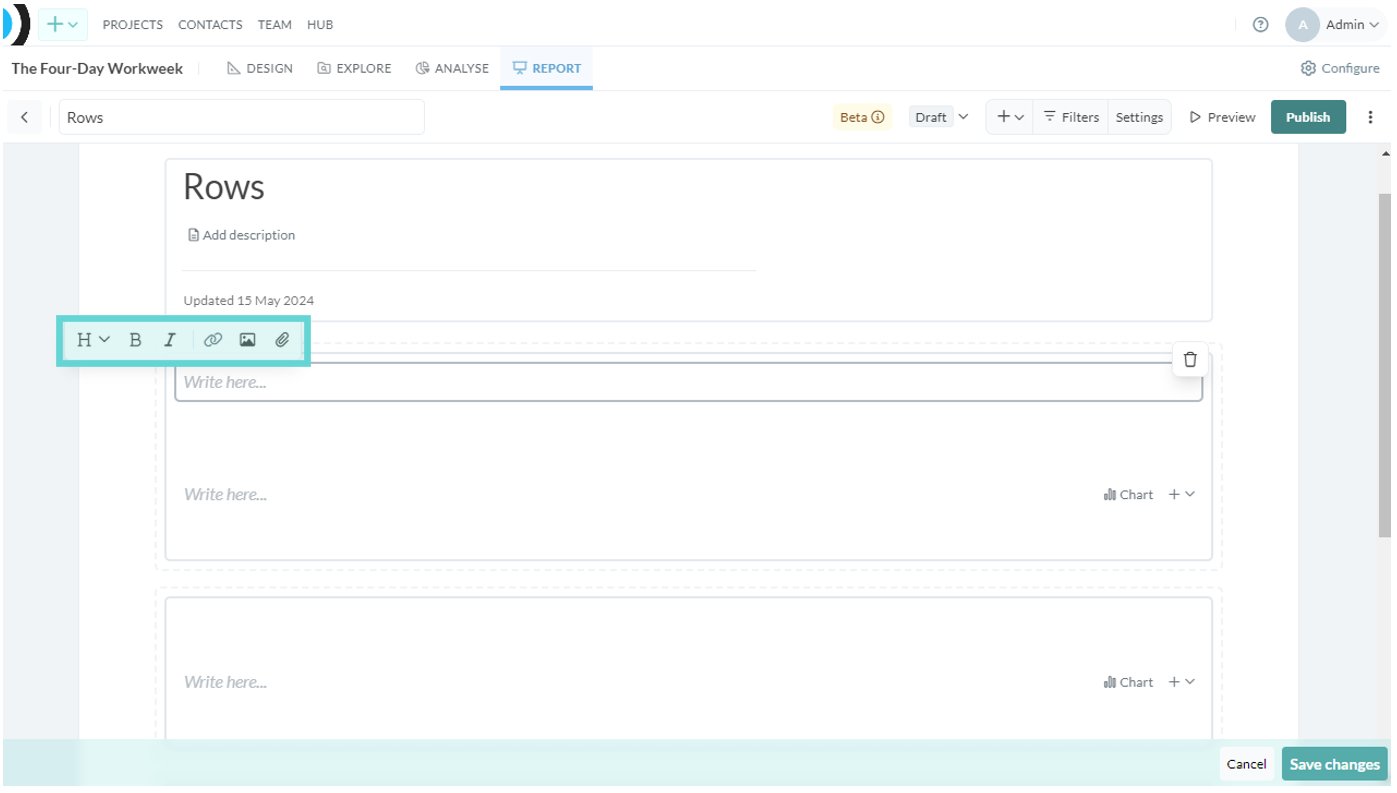
- H: Change the heading and paragraph size of text
- B: Change the text to bold
- I: Change the text to italics
- Link icon: add a link to your report
- Image icon: add an image to your report
- Paperclip icon: add an attachment to your report
Headings
To change the headings click on the H icon. A menu will appear. Select the level of heading to apply to the selected text. Select paragraph for normal text.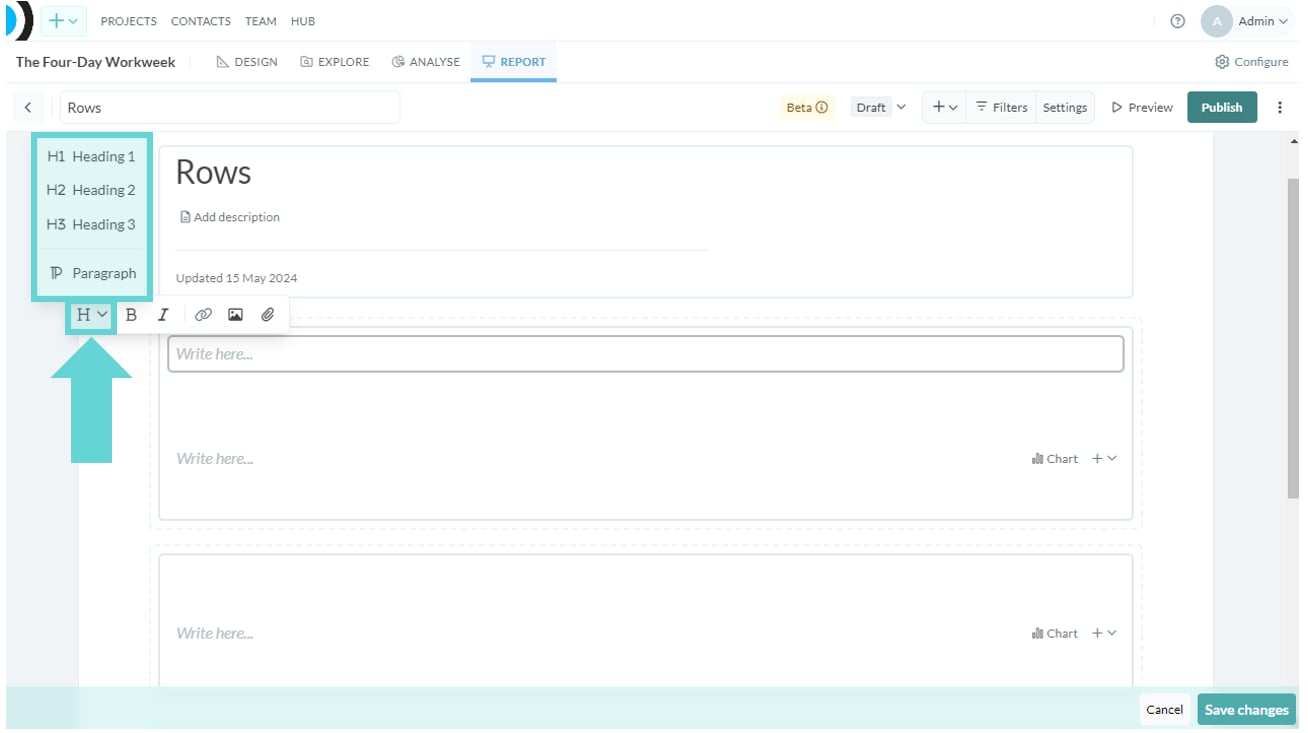
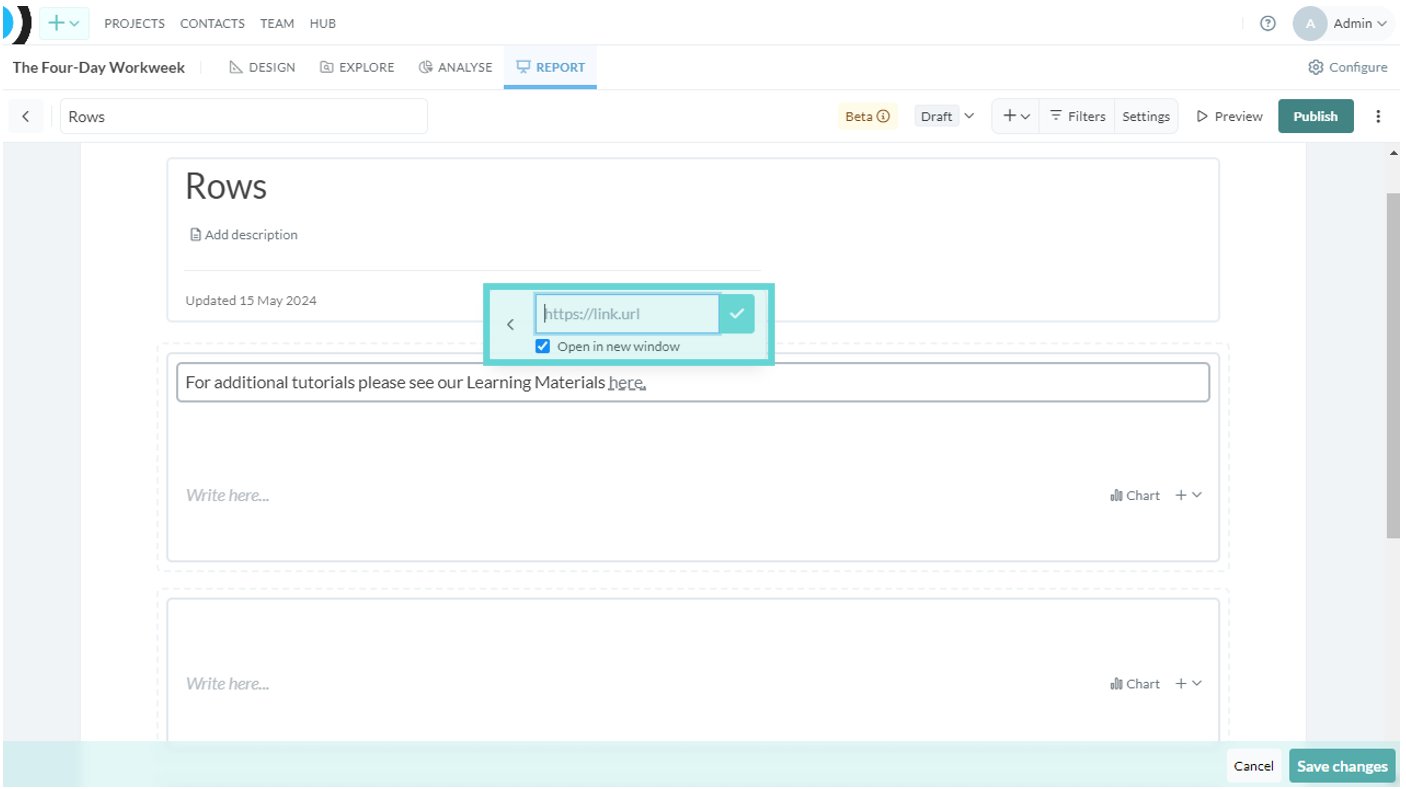
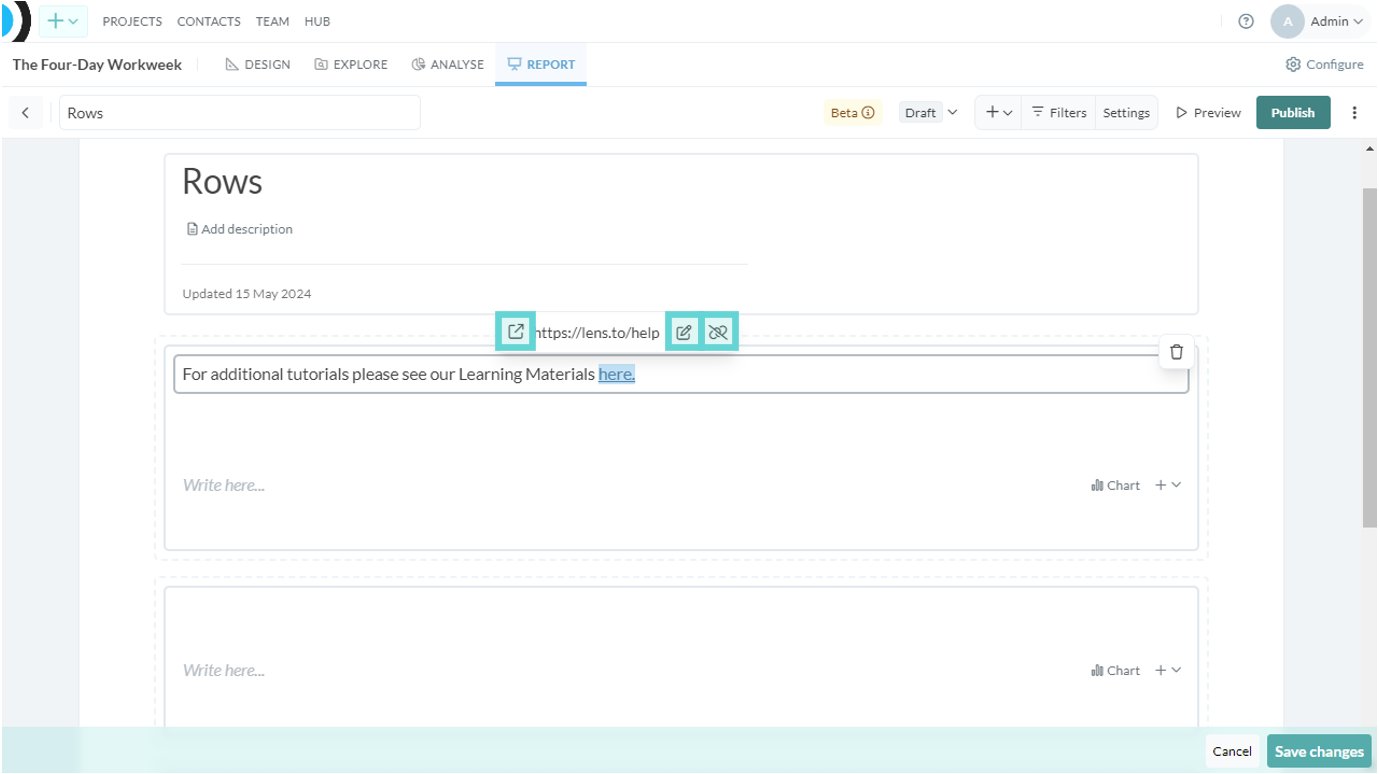
Adding a link
To add a link to the text block, select (highlight) the text where you want the link to appear. Click the chain icon.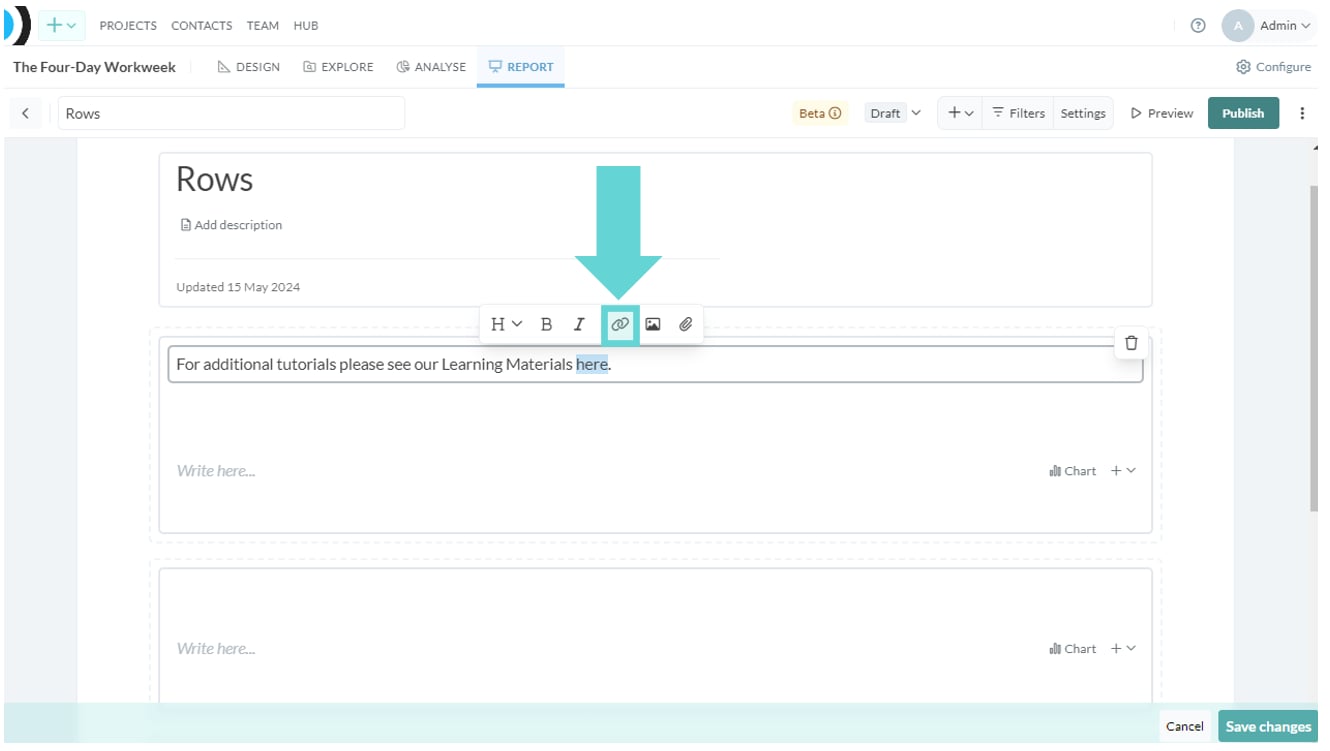
Adding an image
To add an image click the image icon from the Rich Text Editor menu. This will open a file explorer window where you can upload your image.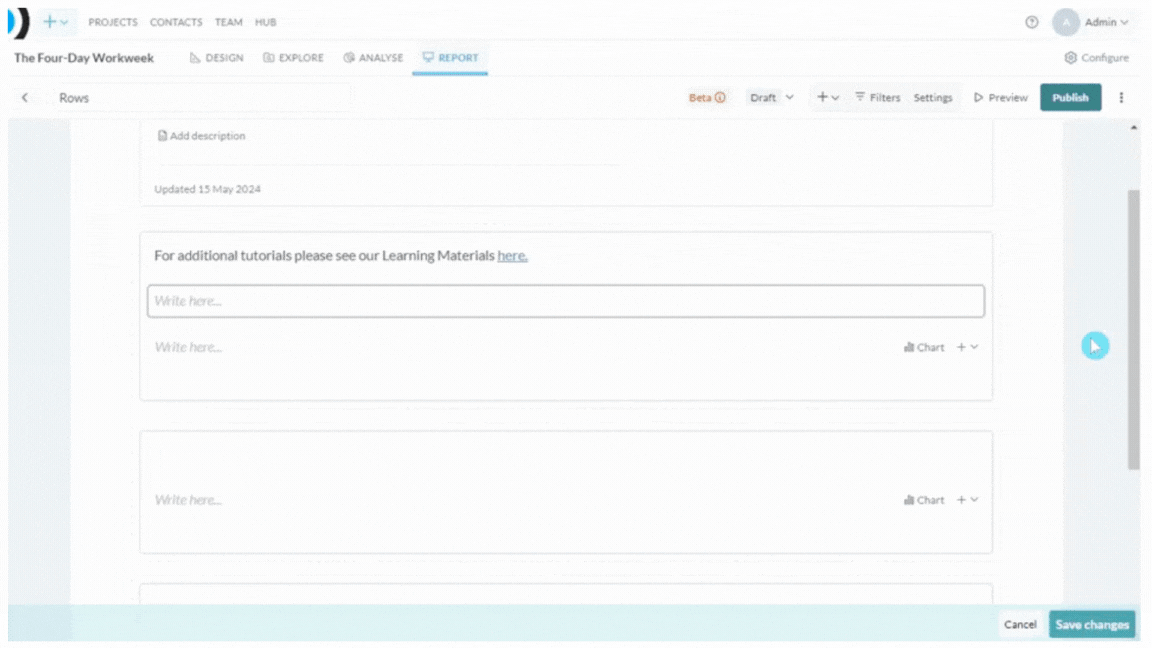
Adding an attachment